How to Add Delays Between Steps in TexAu
Delays help your automations feel more human. They instruct TexAu to pause between steps, just like how you’d wait a moment before sending a follow-up message or taking the next action in a conversation.
In this guide, you will learn why delays matter, how to add them in your workflow, and best practices to avoid getting flagged by social media platforms.
Why to Add a Delay?
Many platforms monitor behavior patterns. If actions happen too fast, they may suspect bot activity and flag your account. Adding delays between steps helps prevent that.
Here is what a delay does:
- Mimics natural behavior: Real users don’t perform actions in rapid succession.
- Prevents account flags: Waiting between steps lowers your risk of platform blocks.
- Improves outreach strategy: For example, waiting a few days before following up shows respect and increases engagement rates.
Example: You wouldn’t send a connection request and immediately follow up with a message. Adding a delay ensures your outreach timing feels natural.
How to Add a Delay in TexAu
Before we start, remember:
- You must have at least one step in your workflow before you can add a Delay.
- Delays can be added between any two steps, but not as the first step.
If You are Creating a New Workflow:
Let’s say you are starting from scratch. Here's how you do it:
- Open your workflow in the Workflow Builder.
- Click the + button to add a new step.
- Select Operation > Delay.
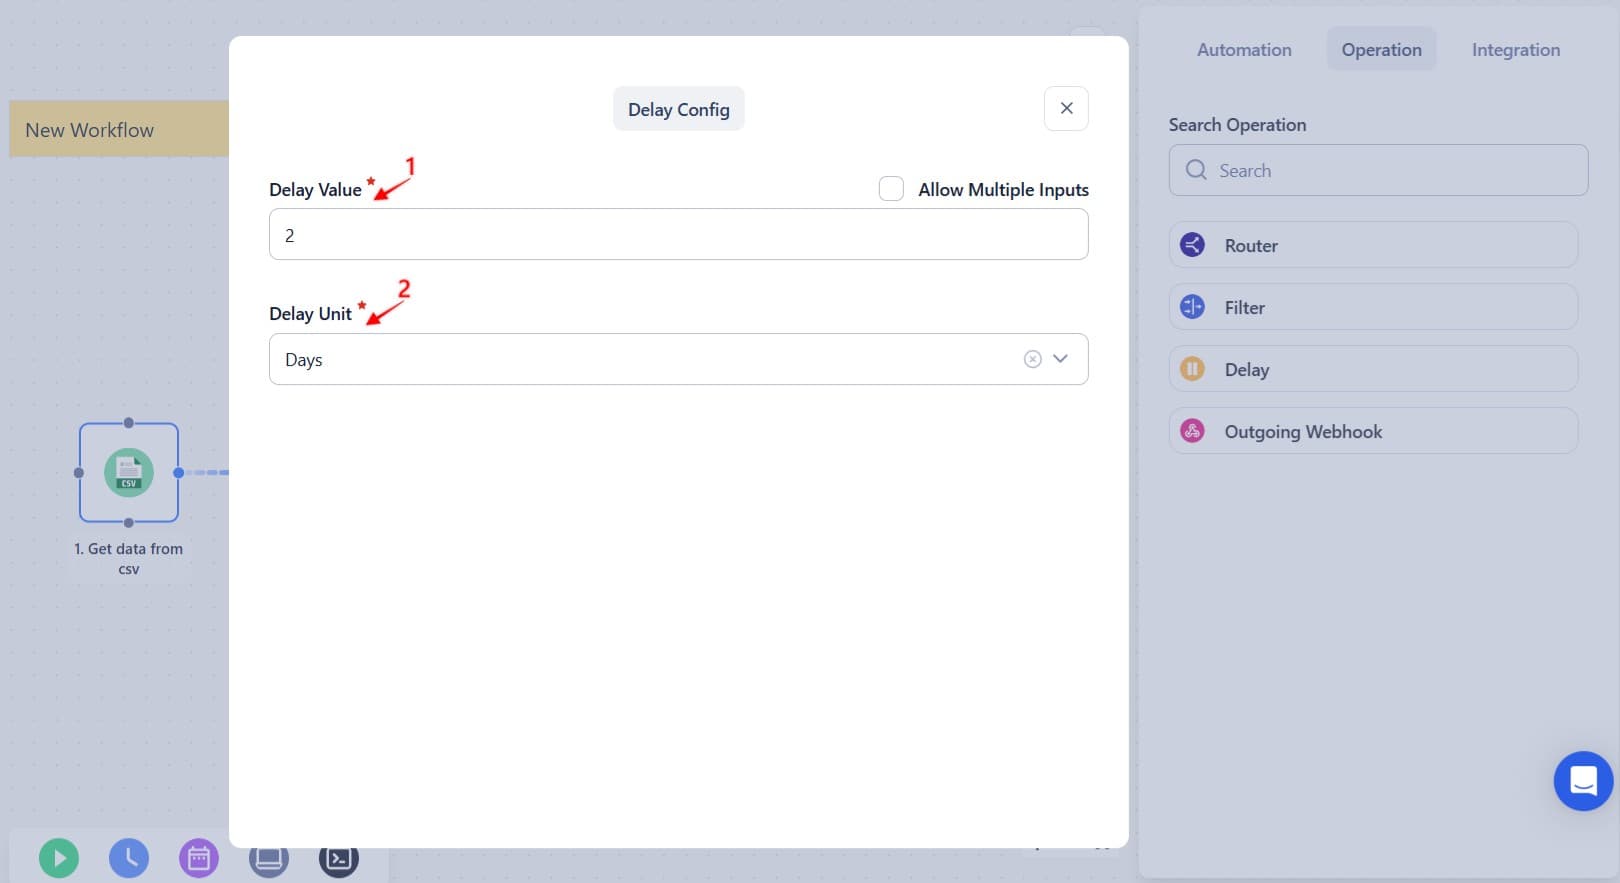
- Set the delay duration:
- Delay Value: Enter the number of units to wait.
- Delay Unit: Choose from seconds, minutes, hours, or days.
- That’s it! As soon as you enter the value and unit, TexAu saves it automatically. No "Save" button needed.
If You are Editing an Existing Workflow:
Already built a workflow and want to add a delay somewhere in the middle?
Here’s how to do it:
- Go to the Data Store tab (this is where your steps are listed).
- Select the Workflow: Choose the one you want to change.
- Find where you want to insert or change a Delay.
- Add the Delay using the + button.
Tip: You can also drag and drop the Delay step to reposition it between two actions where timing is important.
Example Use Case
Let’s say you are building a "Social automation connection request" automation flow:
- Step 1: Send a connection request
- Step 2: Add a 7-day Delay to give your lead time to accept
- Step 3: Check if the request was accepted
- Step 4: If yes, send a follow-up message
This keeps your outreach smooth and respectful, like you are not in a rush, even if your automation is.
Best Practices
- Think in real time – For cold outreach, a delay of a few hours or days is more realistic than a few minutes.
- Don’t overuse them – Insert delays where timing impacts the result. No need to delay steps that don’t depend on each other.
- Adjust based on platform behavior – For Reddit or Twitter, shorter delays may work. For other social platforms, longer ones are safer.
Adding delays helps your workflows feel more natural and compliant with platform expectations while giving each step time to succeed.
Note: A UI update for the Delay step is planned soon, which may slightly alter the appearance of these settings.

