How to Use CSV Files as an Input Source
CSV files are the primary method for feeding structured, bulk data into TexAu automations. Whether you are running outreach at scale, scraping profiles, or enriching leads, CSVs act as the bridge between your dataset and the automation logic.
This guide outlines how to properly structure, format, and upload your CSV to ensure smooth execution and prevent common input errors.
Why Use CSV Files with TexAu?
Using CSV files is like giving TexAu a well-organized checklist to work with. Here is why they are awesome:
- Simple and universal format - It can be opened in Excel, Google Sheets, or any text editor.
- Quickly upload large datasets - Ideal for bulk automation tasks.
- Offline data storage - It does not require the internet to prepare data.
Creating a CSV File for TexAu
- Open Google Sheets, Excel, or any other spreadsheet tool and create a new data file.
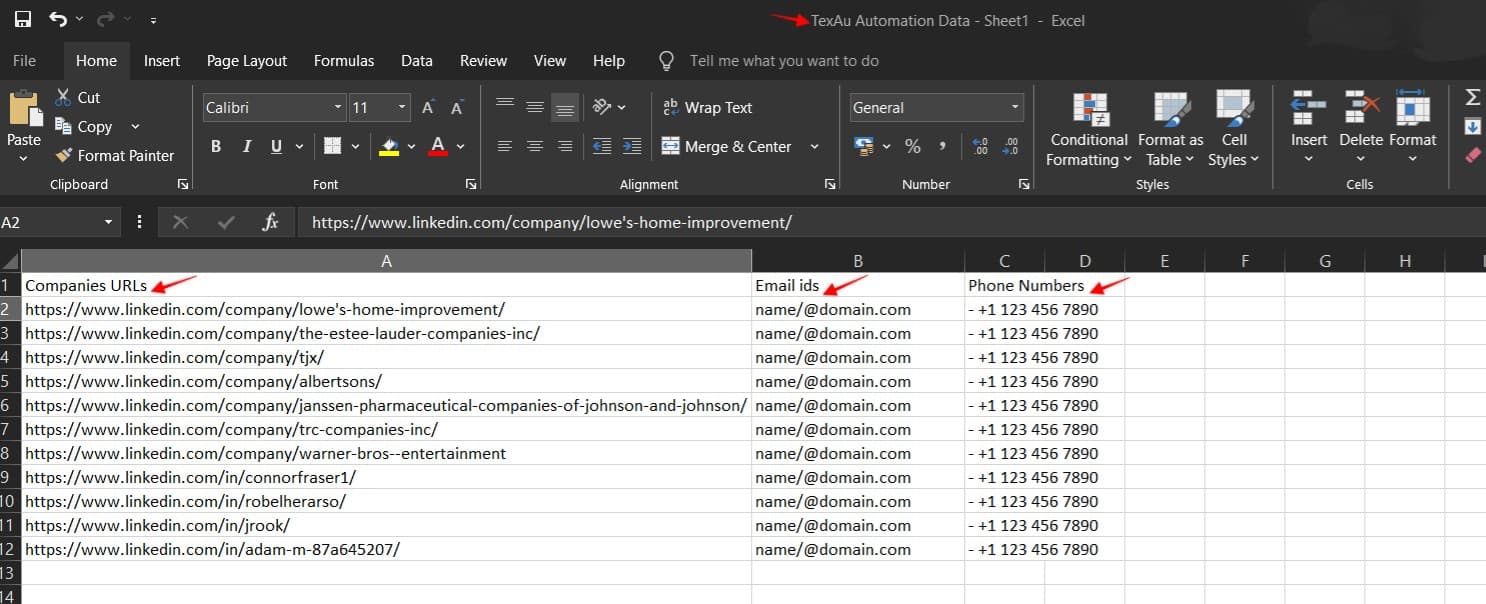
- Put all your data in separate columns with headers such as Name, Email, URLs.
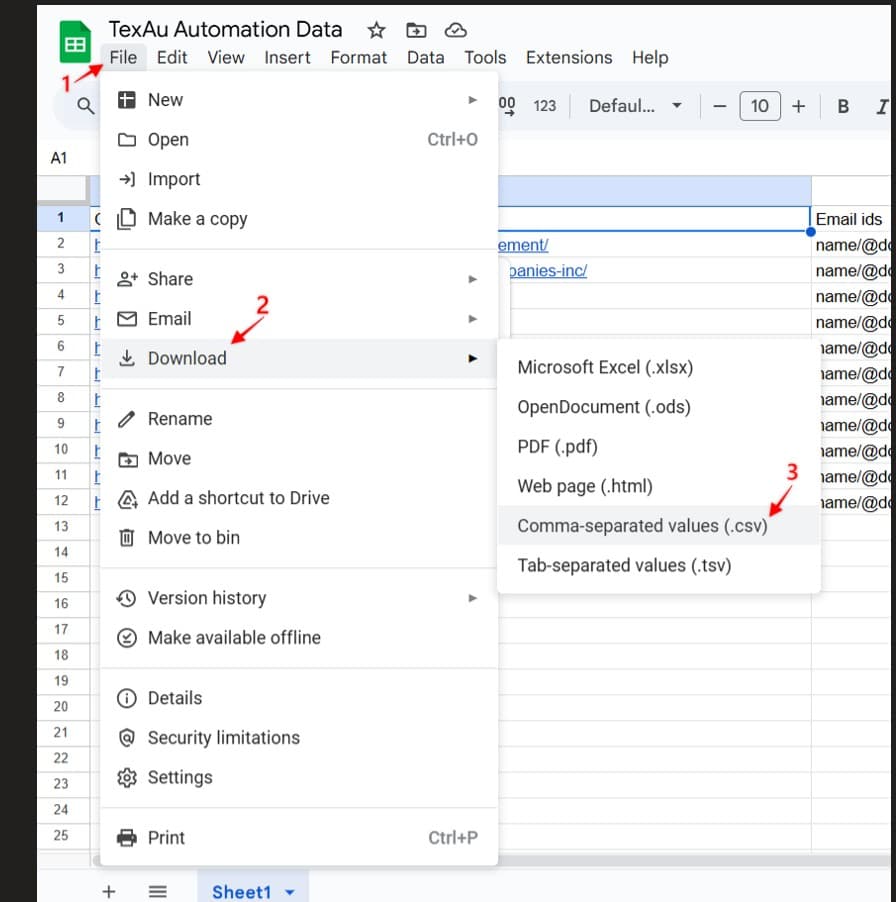
- Save the file as CSV:
In Google Sheets: File - Download - Comma-separated values (.csv)
In Excel: Click File - Save As - Choose CSV (.csv) format
In LibreOffice/OpenOffice: Click File - Save As - Choose CSV format
Note: Always save as “CSV (UTF-8)” to prevent formatting issues.
Properly Structuring Your CSV Document
For TexAu to successfully interpret and map your data, your CSV document needs to be structured in a certain way.
- Use clear and simple column names (Name, URL, Email, etc.)
- Always keep your headers in the first row: Make sure that the first row of your CSV contains column headers that clearly describe the automation fields they represent.
- Avoid special characters in headers: Column headers should never have spaces or special characters like ($ % & # @ ! etc.) within them.
- Each row = one person or data entry: Corresponding data should be on separate rows, where each data point is in its cell within the column. Do not use merged cells or any other types of formatting.
- Keep it clean and simple: No bold text, no fancy colors, no merged cells, just clean data in a basic table format.
Tip: Remove any blank rows or unnecessary spaces before trying to import your CSV file.
Formatting Special Data Types
TexAu reads data best when it’s formatted correctly. Here is how to make sure everything is in good shape:
a. Links (Website URLs)
- Check that links begin with https://
- Do not add spaces either in front of or immediately after the URLs.
b. Email Addresses and Telephone Numbers
- Emails should be kept in a singular formality (user@example.com).
- For phone numbers, use the international format +1 123 456 7890.
c. Dates and Time Information
- Write out dates using the format YYYY-MM-DD so that printed dates do not confuse (2025-03-28).
- When Special Characters are Involved (Accents, Emojis, Etc.)
Make sure to save the CSV file under the UTF-8 encoding type, or else data could become corrupted.
Tip: Go to “File Encoding” if using Excel and select UTF-8 after choosing Save As.
Finding Common Issues Before Uploading
Before adding your CSV file to TexAu, go through this quick checklist to make sure everything is perfect:
- Unnecessary commas within data fields - This may misplace column data.
- Repetitive header names - Confirm that each title is distinct.
- Rows that are partially filled or filled - Remove any excess blank rows.
- Data types do not correspond - Don’t have text in numerical data fields or vice versa.
TexAu Automation Uploading of CSV File
Now it’s time to put your CSV file into TexAu and let automation do the work for you!
- Open TexAu and select your automation tool.
- As your input option, select Upload CSV.
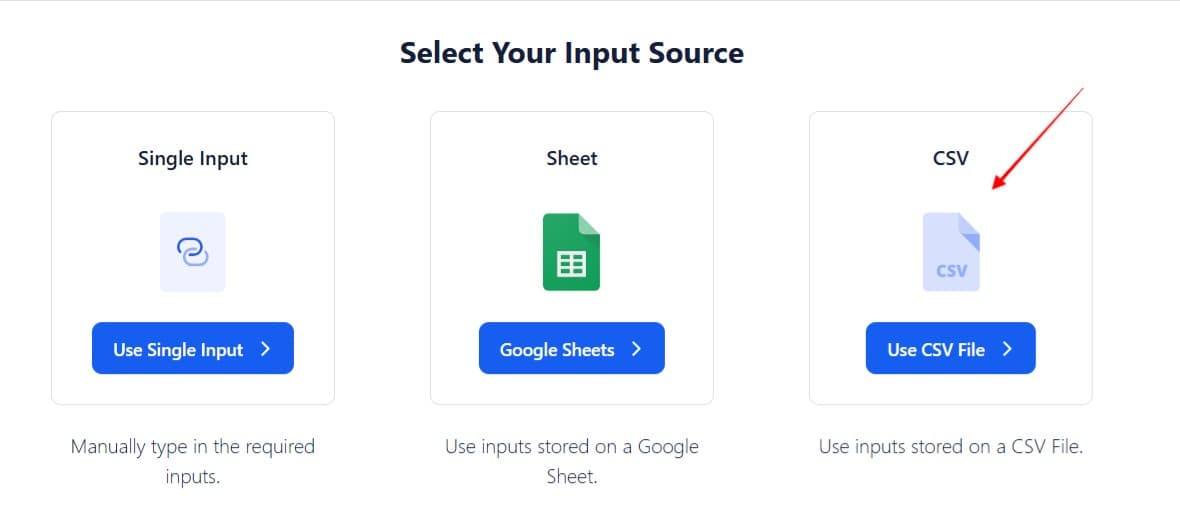
- Click Choose File and open your prepared CSV document.
- Map your CSV columns to the automation variables to link them.
- Click Start Automation for the system to process your data.
Last Overview Before Import
TexAu automation variables are compared to the mechanics of the CSV file.
- The data structure is correct (Ensure there are no extra rows, misplaced commas, or unsupported characters).
- The file is in CSV (UTF-8).
- During the upload, the file corresponds to the correct CSV.
Adhering to these tips will allow you to integrate CSV files into TexAu without hassle, which guarantees automation and efficiency in no time.

