How to Start a Workflow in TexAu
In TexAu, workflows automate tasks using triggers and actions. A trigger is the event that starts your workflow. Once triggered, TexAu runs the steps you have configured.
This guide explains the supported methods for triggering a workflow and how to set them up for your specific use case.
Supported Workflow Triggers
TexAu supports the following trigger types:
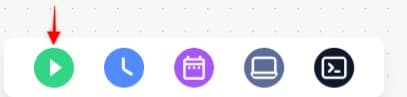
1. Manual Trigger
- Starts the workflow when you manually click “Run” from the workflow builder or dashboard.
- Ideal for testing or one-time tasks.
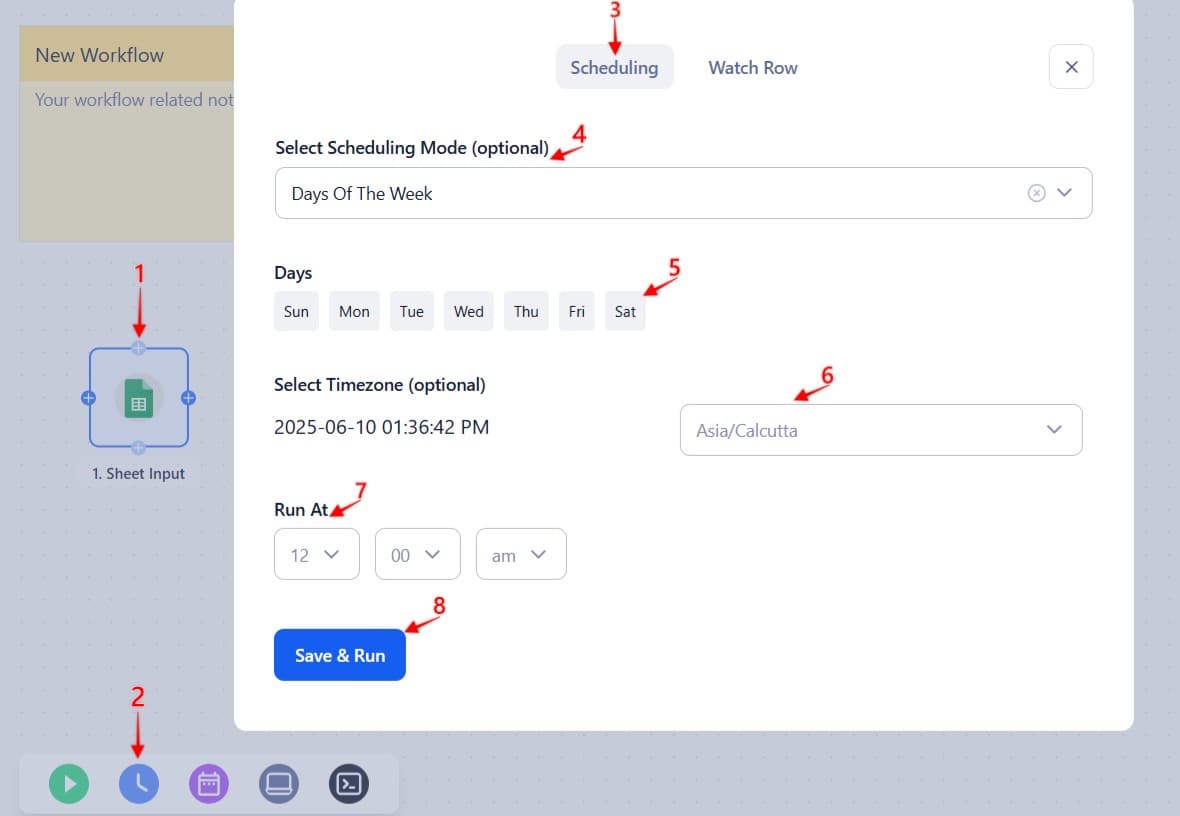
2. Scheduled Trigger (Google Sheets)
- Runs your workflow on a fixed schedule (e.g., hourly, daily, weekly).
- Great for recurring tasks like checking for new social leads or refreshing data from a source.
- You can configure the timing and frequency directly in the trigger step.
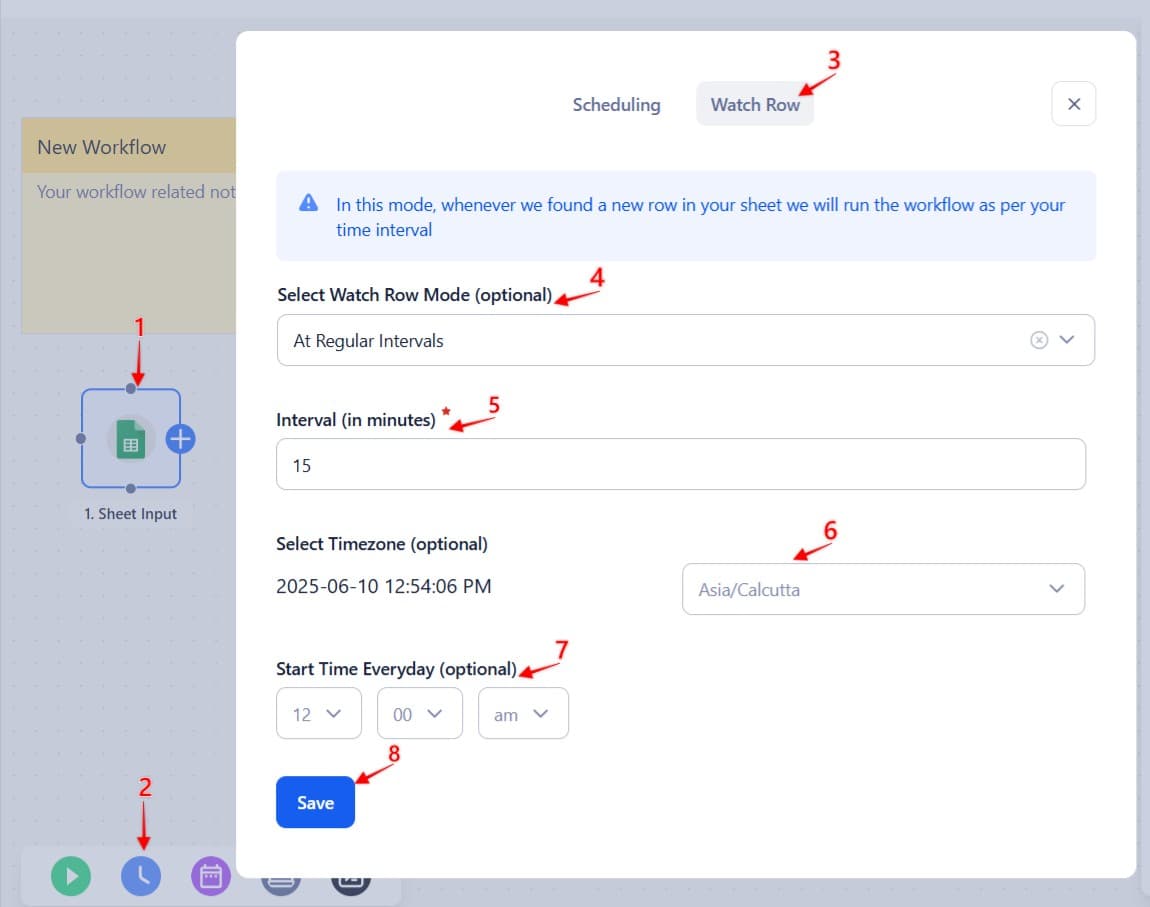
3. Watch Row (Google Sheets)
- Starts the workflow when a new row is added to a connected Google Sheet.
- Use this when you want the workflow to react to fresh data entries in real time.
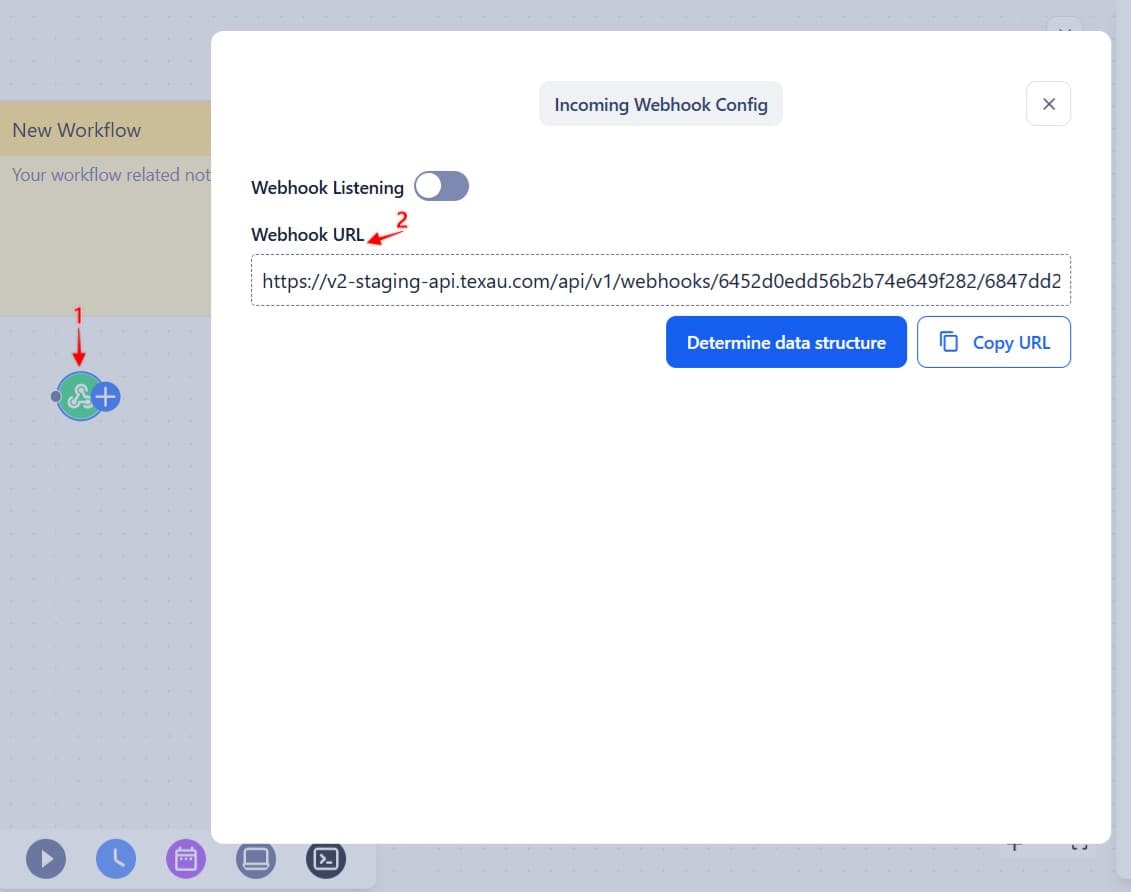
4. Incoming Webhook
- Triggers the workflow when it receives a POST request to a unique webhook URL provided by TexAu.
- Ideal for receiving data from forms, CRMs, or external tools.
How to Add and Configure a Trigger
- Open your Workflow
- Select your preferred automation.
- Select Trigger from the list.
- Choose one of the supported trigger types.
- Configure the trigger settings (e.g., set schedule time, paste webhook URL, or connect your Google Sheet).
- Click Save to continue building your workflow.
Each workflow can have only one trigger. To switch triggers, delete the current one and add a new trigger step.
After the Trigger Fires
Once a trigger activates, TexAu begins executing the workflow step by step. You can add logic, timing, or conditional checks using:
- Filters and routers for the branch logic
- Delays in the pace of the workflow
- Conditions based on trigger input data
Choosing the right trigger helps ensure your workflow starts at the right time and with the right context.
Best Practices
- Test your trigger before launching the workflow to ensure it fires as expected.
- Use filters and routers after the trigger to handle different conditions or data formats.
- Add delays if you need to space out actions after triggering.

